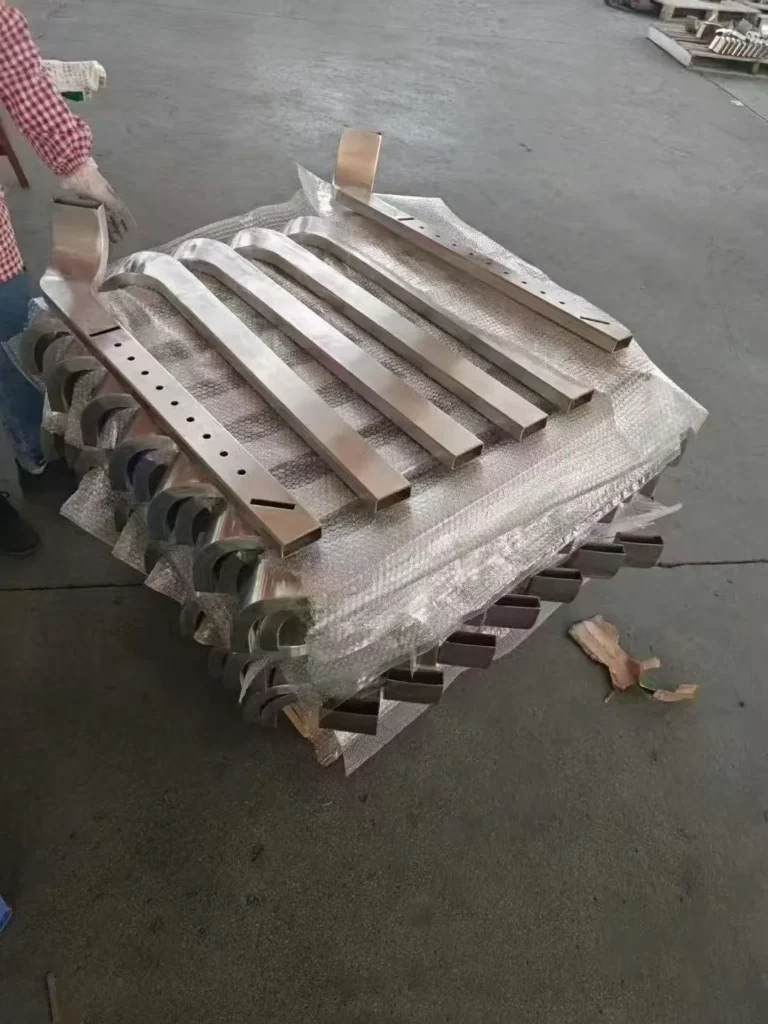
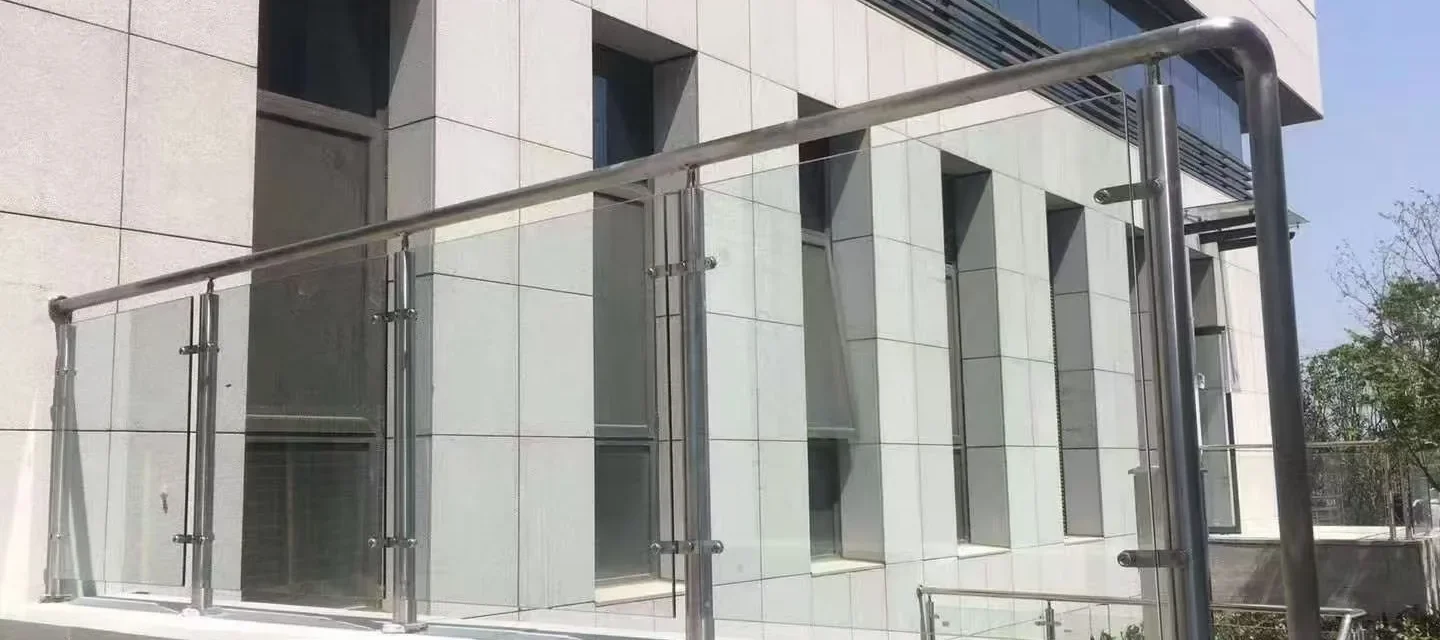
The mounting detail is one of the most important decisions in a stainless steel railing system. It affects the appearance, usable floor area, waterproofing, edge distances, anchor selection, installation sequence and the way loads enter the supporting structure. A post photograph cannot answer these questions; the correct solution begins with the substrate and the project engineer’s requirements.
This guide compares three common approaches: top-mounted base plates, fascia or side mounting, and core mounting. It is a coordination guide, not a structural design calculation. Anchor type, embedment, post spacing and capacity must be designed and approved for the actual substrate, loads and local code.
Mounting methods at a glance
| Method | Visual effect | Coordination priorities | Typical project concern |
|---|---|---|---|
| Top-mounted base plate | Plate remains visible on the finished surface | Anchor layout, edge distance, shims, cover and waterproofing | Conflicts with membranes, finishes or slab reinforcement |
| Fascia or side mount | Keeps the walking surface clearer | Slab-edge access, bracket offset, cladding and drainage | Installation access and eccentric load path |
| Core mount | Post appears to enter the structure | Pocket size, embedment, grout, drainage and corrosion isolation | Water retention and difficult future replacement |
Top-mounted base plates
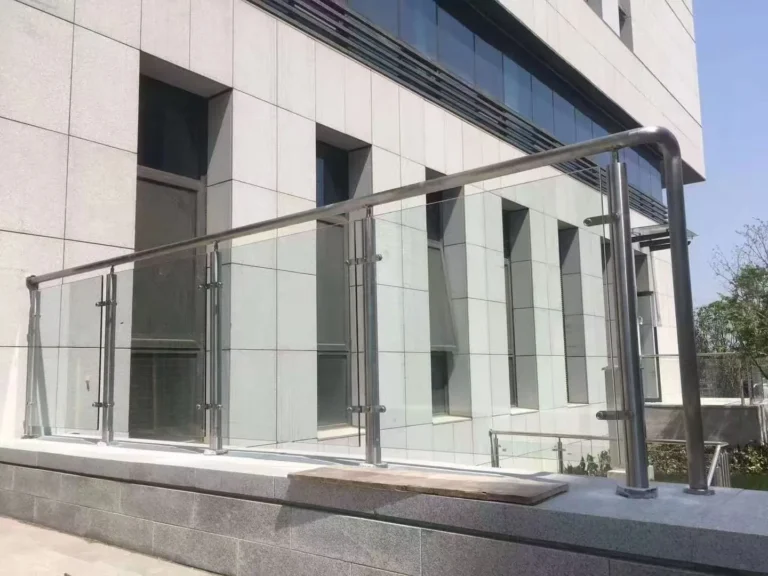
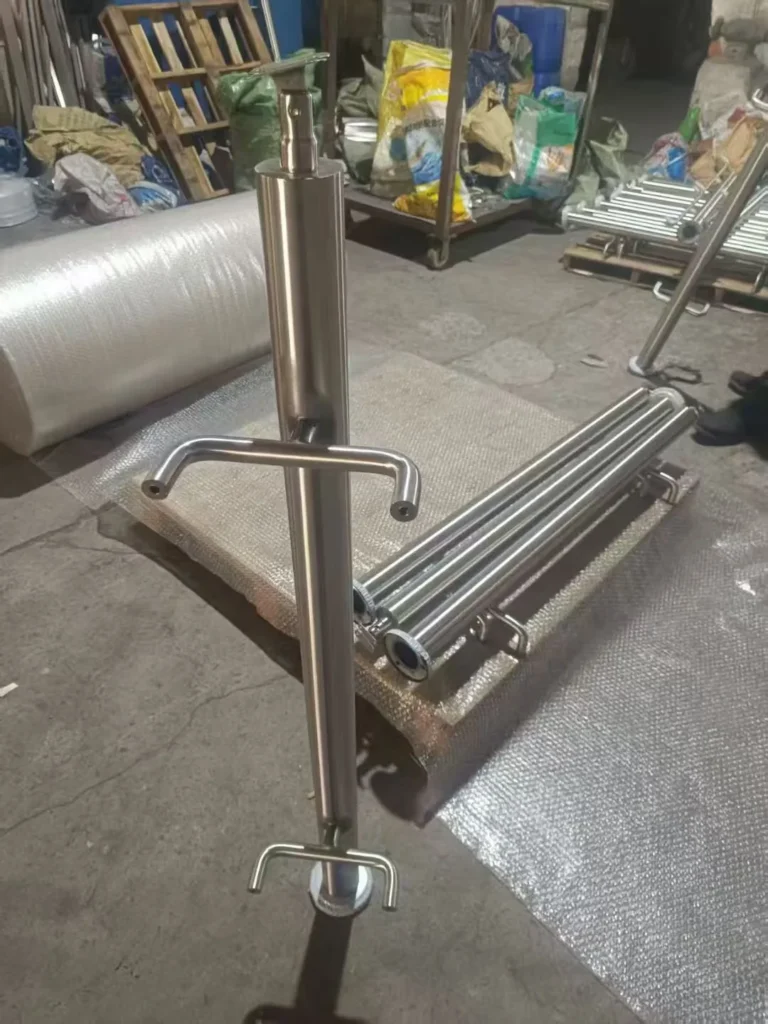
A top-mounted post is welded or mechanically connected to a plate fixed to the upper face of the slab, stair or steel support. This is often the most direct method to set out and inspect because the post and anchors remain accessible during installation. It is also compatible with many prefabricated post families, including the BP-SQ01 square-tube glass post.
The visible simplicity can hide several interfaces. The structural anchor must reach a suitable substrate, not merely screed, tile or a non-structural topping. The plate may need to sit above or coordinate with a waterproofing membrane. Slopes used for balcony drainage can require controlled shimming or a fabricated correction so that the post remains plumb. Decorative cover plates should not conceal loose anchors or prevent inspection.
Questions to resolve on the drawing
- What is the structural substrate and its verified thickness?
- Where are slab edges, reinforcement, tendons, services and movement joints?
- Is the finished surface level or sloped, and how will the post be made plumb?
- How does the waterproofing connect around or below the plate and anchors?
- Will the base remain exposed or receive a removable decorative cover?
Fascia-mounted and side-mounted posts
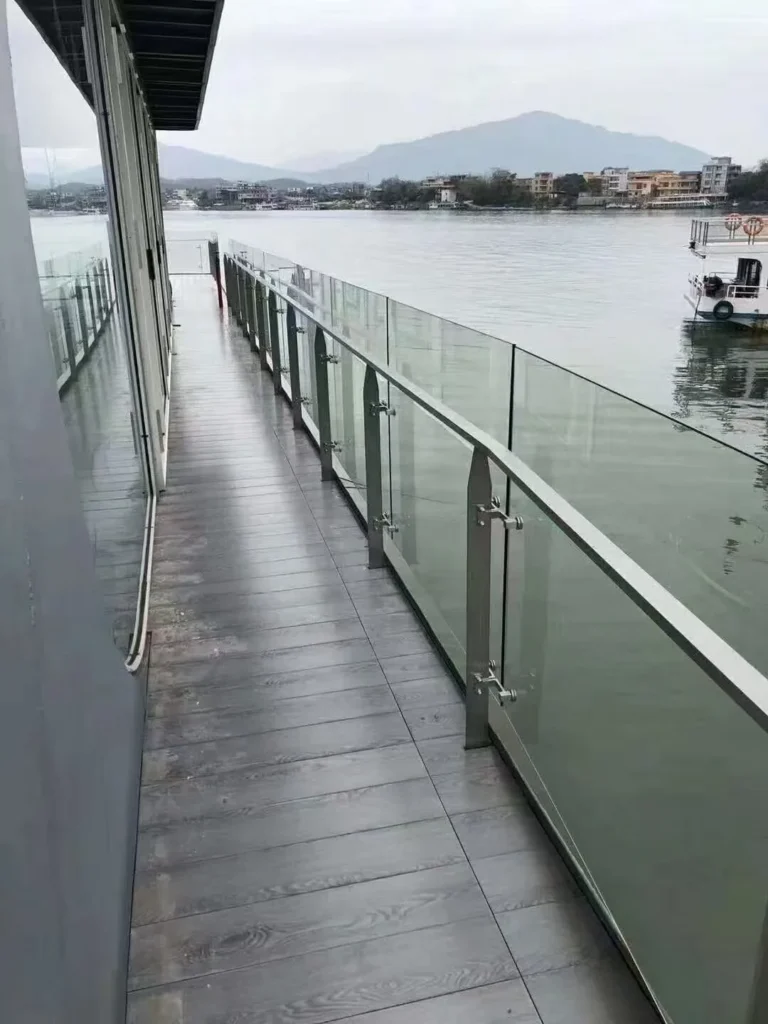
Fascia mounting moves the post connection to the vertical face of a slab, beam or stair stringer. It can preserve clear walking width and create an uninterrupted finish on a balcony or terrace. The post may be fabricated with a side plate, bracket or project-specific connection.
This approach requires reliable access to the slab edge. Cladding, insulation, drainage channels and edge trims must be coordinated before the railing is released for manufacture. The offset between the post centreline and the supporting face creates a different load path from a direct top mount; the engineer must account for the complete bracket and anchor group.
Installation sequence matters. If façade panels or soffits are installed first, the contractor may lose access to nuts, anchors or inspection points. A coordinated model or section should show the railing, structure, façade build-up and waterproofing together rather than on separate drawings.
Core-mounted posts
With a core mount, part of the post is inserted into a prepared pocket or sleeve and secured using an engineered detail. The result can look visually clean because no broad base plate is visible. Core mounting is common in some concrete and masonry applications, but it demands careful control of water, embedment and installation tolerances.
Exterior pockets must not become water traps. The detail should address drainage, compatible grout or setting material, isolation from dissimilar materials and protection of the finished stainless surface during wet work. The project team should also consider how a damaged post could be removed later without harming the surrounding finish.
Mounting on stairs
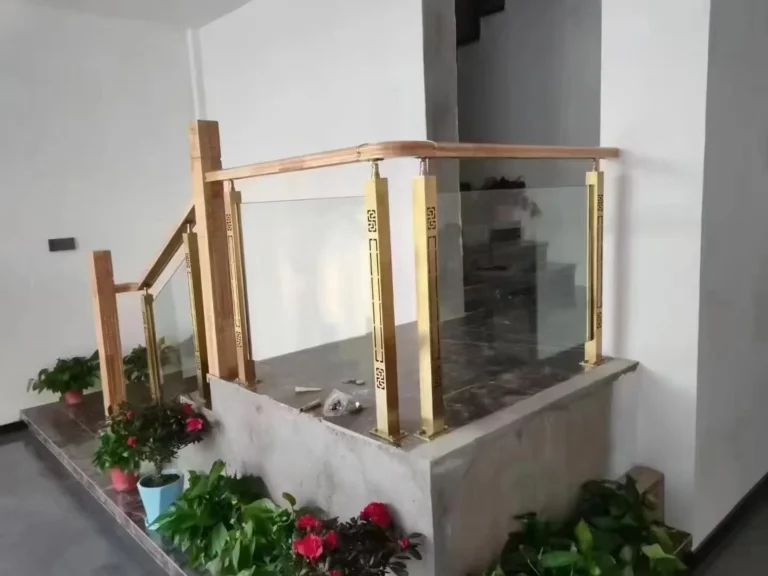
Stairs add slope, variable finished levels and transitions at landings. A post schedule should identify the pitch, tread or stringer datum, handed orientation, glass line and handrail centreline. The BP-ST01 stair glass balustrade post system is produced to approved drawings for sloped stairs, landings and changes of direction.
Do not assume every tread is identical. Survey information should confirm the as-built geometry when the structure or finishes are already installed. Where fabrication begins before final finishes, define which dimensions are design dimensions and which require site verification.
Material and finish at the base
The base zone is exposed to cleaning chemicals, standing water, de-icing salts in some climates and contamination from construction work. Stainless grade selection should reflect the real exposure. The existing 304 vs 316L stainless steel guide explains why environment matters more than a generic “stainless” description.
For brushed surfaces, require consistent grain direction and protection during installation. Carbon-steel tools, grinding dust and site debris can contaminate the surface. Protective film should be managed so it does not remain trapped outdoors beyond the supplier’s recommended period.
Anchor and substrate coordination
Anchors cannot be selected from post appearance alone. The engineer and anchor supplier need the design actions, substrate type and condition, edge distances, spacing, embedment limits, exposure and installation method. Existing concrete may require scanning or testing. Hollow masonry, thin toppings and unknown edge conditions need specific assessment rather than a generic anchor note.
The post fabricator should receive the approved plate dimensions and hole pattern. If slotted holes or adjustment are required, their direction and limits should be shown. Uncontrolled site enlargement of holes can damage finishes and invalidate the intended connection.
Pre-fabrication checklist
- Confirm the applicable guard and handrail requirements.
- Obtain the engineer-approved loads, post spacing and anchor design.
- Verify substrate thickness, edges, reinforcement and services.
- Coordinate waterproofing, drainage, cladding and floor finishes.
- Issue post elevations and a position schedule with handed parts identified.
- Approve a finish sample and the treatment of welds and exposed edges.
- Define survey hold points and installation tolerances.
- Agree on labels and packing sequence for each area or level.
For a drawing review or a project-specific post quotation, send the mounting sections, post schedule and quantities through the BalusterPost contact page.
Frequently asked questions
Which mounting method is strongest?
There is no universal answer. Capacity depends on the complete post, plate or bracket, anchor group, substrate, geometry and applied loads. Each method can work when it is properly engineered for the project.
Can railing posts be fixed through tile?
The structural connection normally needs to transfer load into a suitable substrate rather than relying on tile or screed. The finish and waterproofing penetrations must be coordinated with the approved anchor detail.
When should posts be measured on site?
Site verification is particularly important for existing structures, finished stairs, slab edges, landings and interfaces with façade or waterproofing work. Define the survey stage before fabrication.