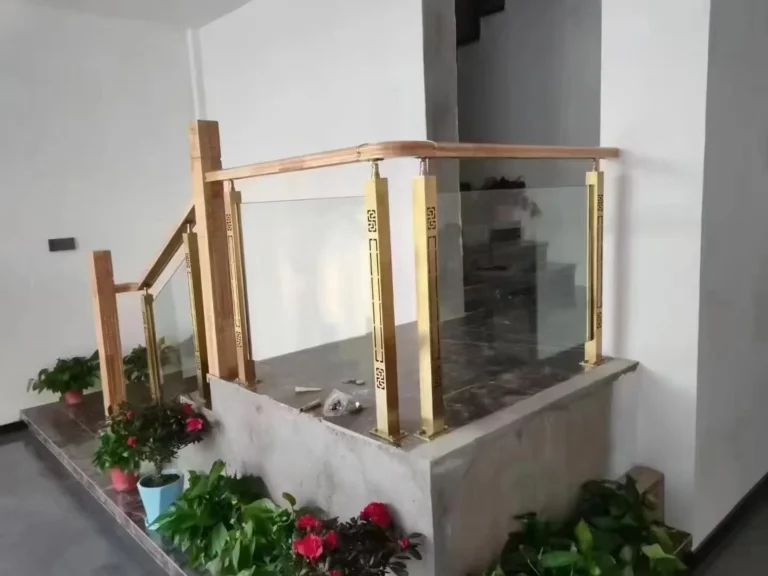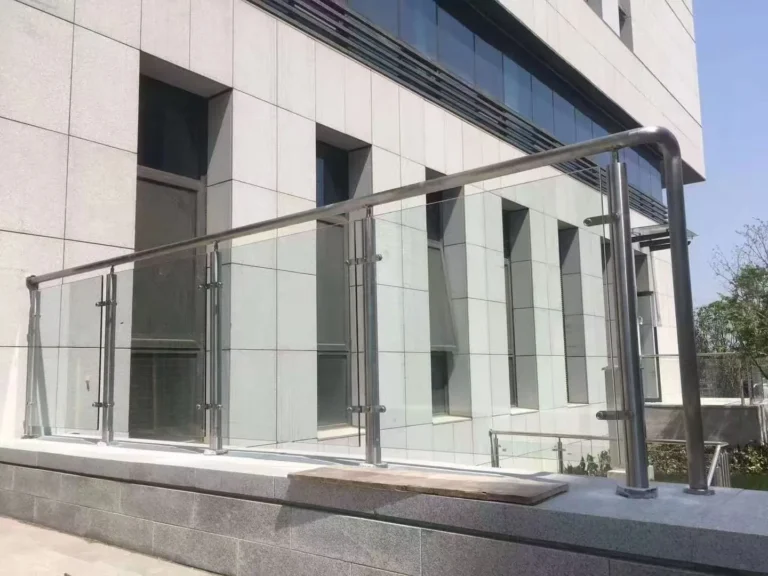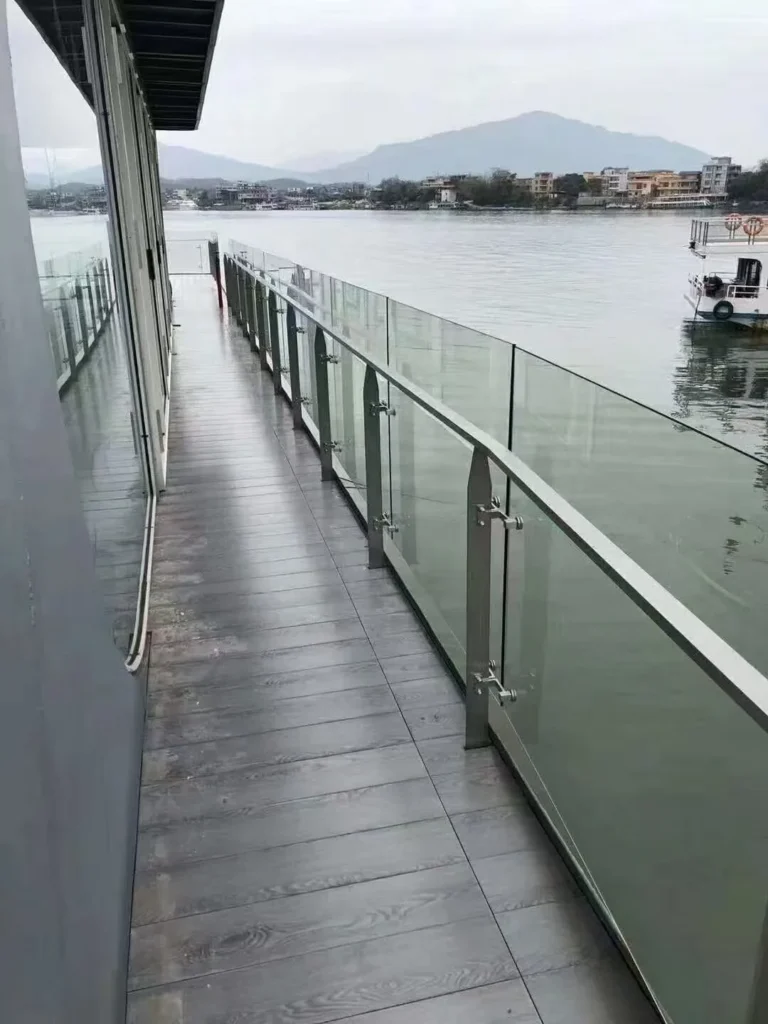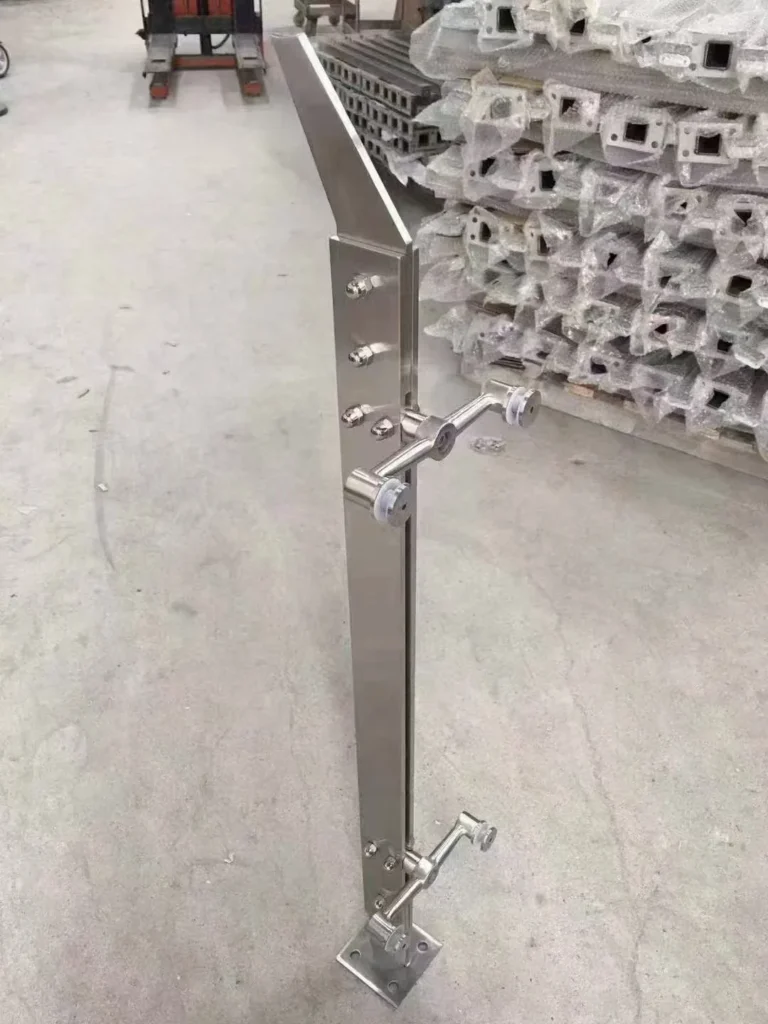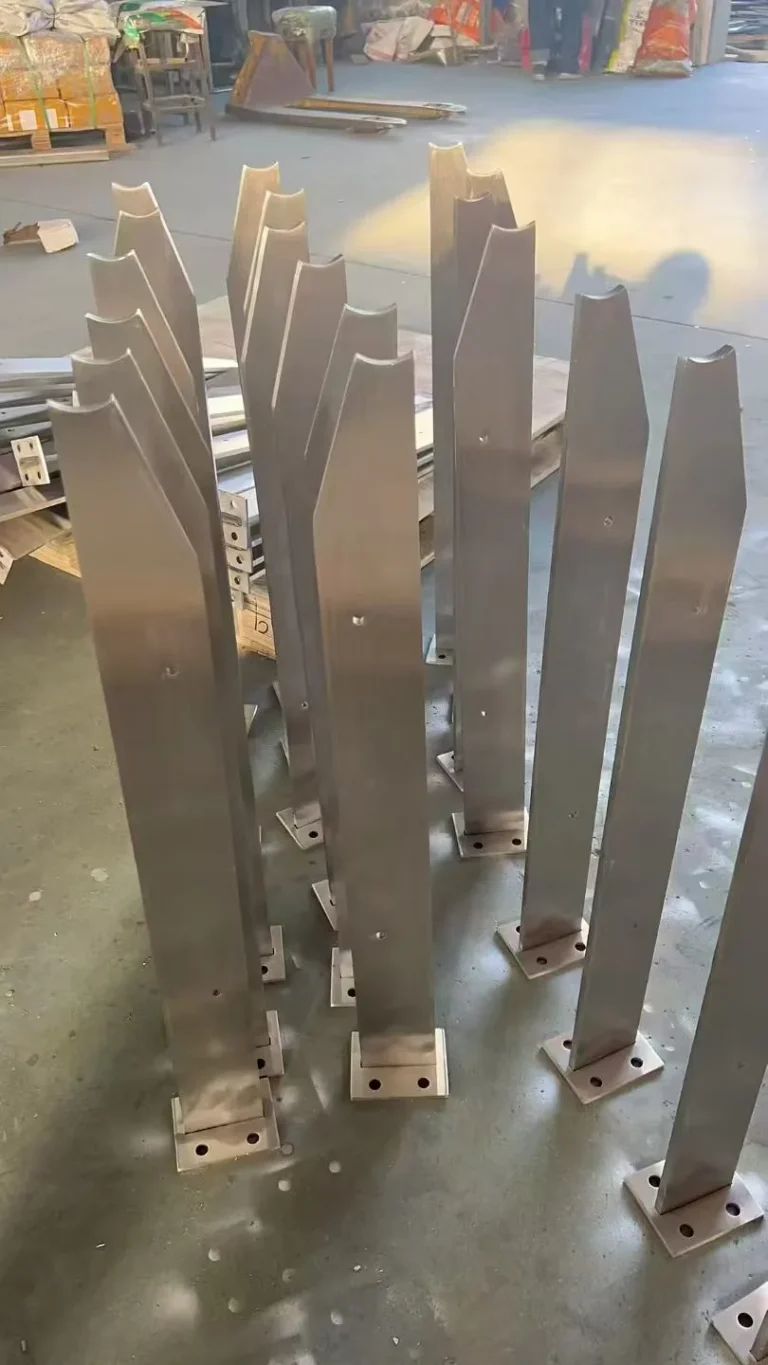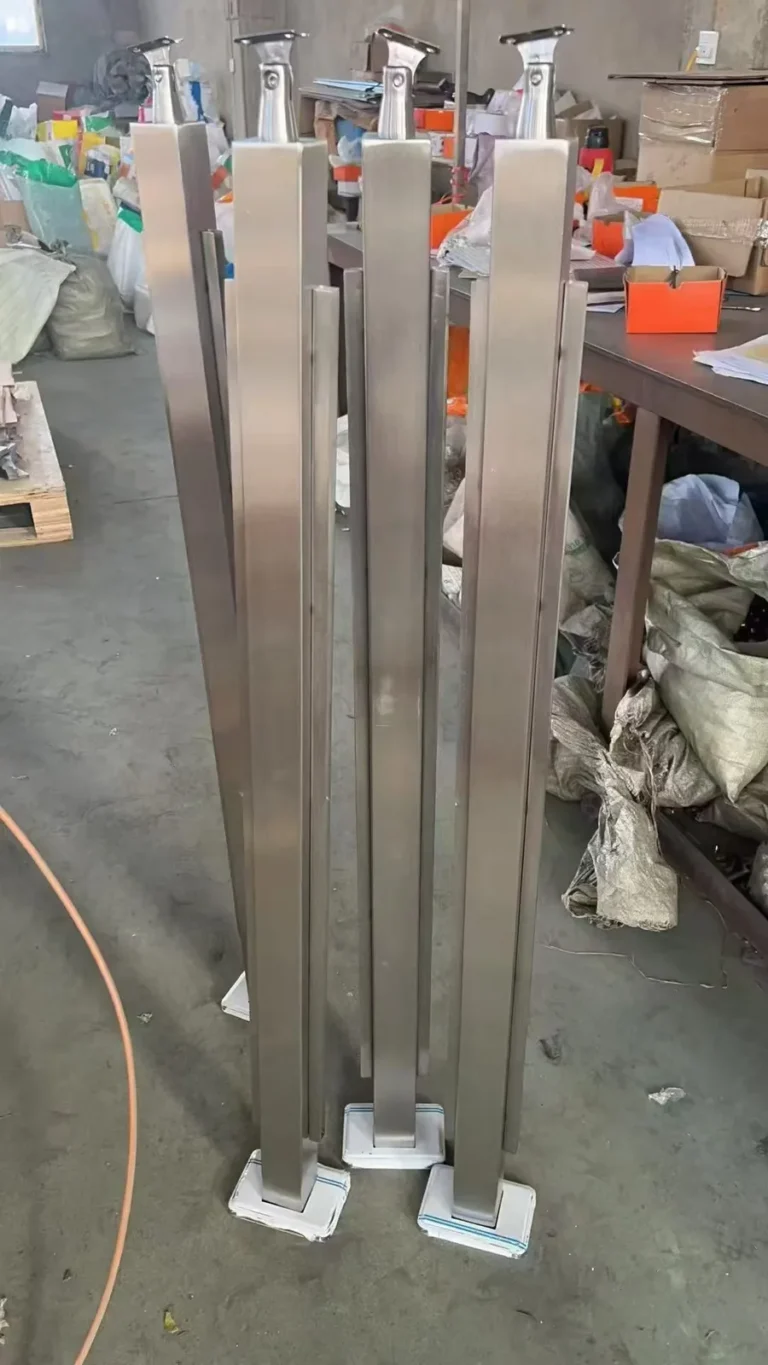
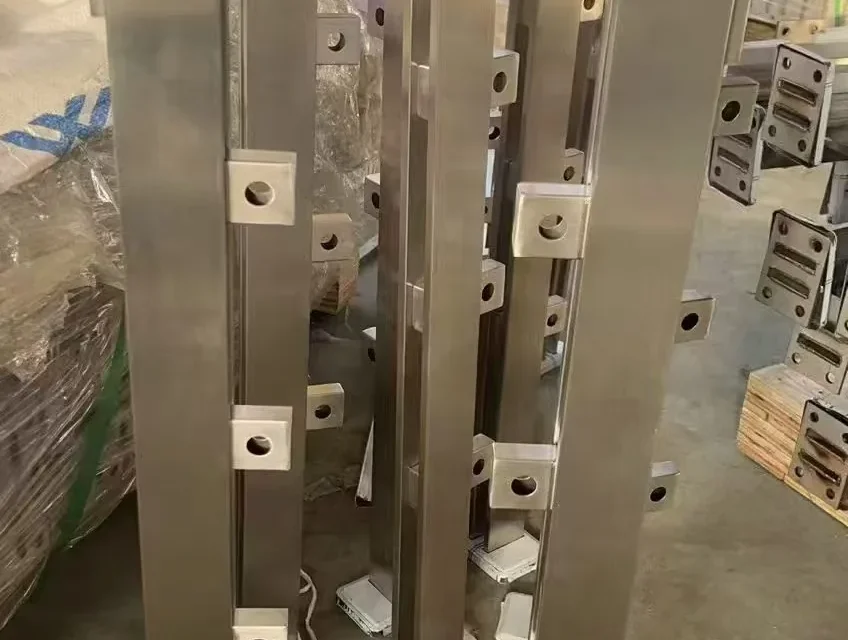
A stainless steel post with welded glass adapters is a fabricated support with connection blocks fixed to its body. The blocks establish the attachment locations for a separately specified glass fitting. This approach is different from selecting a removable clamp and attaching it to a plain post. The distinction matters when deciding which dimensions must be settled before production and how glass, fittings and posts will be coordinated.
Quick answer: consider welded adapters when the project can define the glass line, connection centres and post positions before fabrication. Consider a clamp-based arrangement when its documented connection and service-access details better suit the project. Neither option is inherently stronger, safer or compliant simply because it uses stainless steel. Selection must be based on the complete engineered assembly, not the appearance of the hardware.
This guide explains product coordination for buyers and specifiers. It does not provide post spacing, glass thickness, anchor sizes or installation torque. Those values require the selected system’s documentation and the responsible project designer’s approval.
What does a welded adapter actually do?
The adapter provides a defined connection point between the post and a glass fitting. It may contain a hole or another interface that receives the specified connector. The adapter block alone is not the entire glass connection: the fastener, glass-side fitting, isolating components and glass detail must also be identified.
BalusterPost’s BP-SG01 square post with welded glass adapters is listed as a drawing-based product with fixed adapter blocks. Its current specification leaves dimensions and glass compatibility to the approved project detail. Buyers should therefore request a complete connection drawing rather than infer a glass thickness or load rating from the product photograph.
Welded adapters and clamp-based posts compared
| Decision | Welded adapter arrangement | Clamp-based arrangement |
|---|---|---|
| Post interface | Block locations are established during fabrication. | Selected clamps attach using the specified post connection. |
| Glass interface | Depends on the fitting attached to the adapter. | Depends on the clamp model and its documented retention detail. |
| Adjustment | Only adjustment expressly designed into the connection is available. | Removability does not guarantee adjustment; check the actual design. |
| Finish coordination | Exposed welds and transitions need a visual requirement. | Post and clamp finishes need to be coordinated. |
| Replacement | Confirm access to the removable glass-side components. | Confirm access to clamp screws and availability of replacement parts. |
Start with the glass connection, not just the post
Identify whether the glass is edge-clamped, drilled for point fixings or connected by another approved detail. The welded block does not answer that question. A drawing should show the glass plane, connector axis, contact surfaces and the parts that separate glass from metal. Ask for the exact fitting reference and a section through the assembled connection.
Do not assume a clamp eliminates all glass holes. Different products use different retention arrangements. Equally, a hole in an adapter block does not tell you the required hole size in the glass. The glass processor needs the approved glass drawing, not a dimension copied from the steel component.
Freeze hole and edge-work information before toughening
Glass manufacture has an important sequencing constraint. Pilkington’s toughened-glass guidance states that cutting, drilling and edge working must take place before toughening. A post-setting discrepancy cannot be solved by casually drilling a new hole in a finished toughened pane on site.
Before releasing glass, coordinate the approved post geometry, connector centres, glass outline and fabrication tolerances. Have the glass specialist confirm the permitted holes and edge details. Where an existing structure is involved, agree which measurements must be surveyed before either the steel or glass is manufactured.
Define a common datum for the glass line
“Adapter offset” can mean several things: the distance from the post face to the block, the connector centreline, the glass face or the glass centre plane. Two suppliers can read the same number differently if its reference points are missing. Mark both ends of every critical dimension on a section.
A useful drawing establishes a post centreline, finished-floor datum and glass plane. It then locates each adapter from those references. Include the orientation of the post relative to the railing run. For a corner, show the adjoining glass planes rather than relying on an unlabelled plan symbol.
Coordinate end, intermediate, corner and stair positions
Not every post in a railing has the same connections. An end post may serve one panel; an intermediate position may connect adjacent panels; a corner changes direction; a stair introduces slope and handed geometry. Use separate position codes whenever the connection layout changes.
Prepare a schedule that identifies each code, quantity, location and drawing revision. Mark which face receives each fitting and how the post is oriented. The BP-ST01 stair post system is an example of a project-configured family where stairs and landings need coordinated drawings, not merely identical posts cut to different lengths.
Specify permitted adjustment explicitly
A fabricated connection should not depend on improvised bending, enlarged holes or grinding after delivery. If the design requires adjustment, identify the component that provides it, the direction of movement and the permitted range in the approved documents. Ask how that adjustment interacts with the glass-side fitting and final fastening procedure.
Check the cumulative effect of substrate position, post fabrication, fittings and glass dimensions. The project team should assign tolerances to interfaces that matter, rather than applying an arbitrary tight tolerance to every dimension. An approval sample can help reveal access and alignment issues that are difficult to see in a flat drawing.
Separate appearance approval from structural verification
For visible welded blocks, agree whether the weld is expressed, locally blended or finished to another specified appearance. Identify the viewing faces and the intended brushing direction. A finish sample should include the actual transition between the post body and adapter, not only a loose polished plate.
Appearance approval is not a weld-capacity test. The required weld detail, inspection and acceptance criteria must be defined by the responsible professionals. Likewise, SS304 or SS316L identifies a material option, not a certified capacity of the assembled railing. Environmental grade selection and structural verification remain separate decisions.
Think through access and future glass replacement
Ask the installer to review how the glass-side fittings are reached when adjacent panels, handrails, walls and finishes are in place. A removable fitting is only serviceable if there is enough access to remove it using the specified procedure. Show awkward corners and wall terminations in the review.
Record the replaceable component references and keep the approved glass drawing with the handover information. If a pane is damaged later, the replacement should be ordered from a controlled specification rather than reverse-engineered from a partly assembled railing. Any temporary removal of a protective barrier needs a project-specific safety plan.
A practical selection workflow
- Confirm the system requirements. Obtain the designer’s glass, barrier and performance requirements before choosing hardware.
- Select the connection concept. Review the complete clamp or adapter-and-fitting assembly, including contact and retention details.
- Coordinate geometry. Establish datums, glass planes, post positions and connector centres on drawings.
- Review a representative assembly. Include a difficult corner, stair or termination where appropriate.
- Approve fabrication information. Record dimensions, finish, tolerances, fitting references and responsibility for glass processing.
- Release matched schedules. Use consistent position codes across steel, glass, fittings, labels and packing lists.
Information to send for a product review
Provide the project location and exposure, post elevations, glass schedule, connector sections, required material and finish, quantity by position, and the engineer’s relevant performance requirements. Include the approved mounting concept because the post-to-structure connection must be coordinated independently; see our post mounting methods guide.
For an alternative configuration, the BP-SQ01 square-tube glass post is listed with glass clamps and a handrail saddle. This is a product-family comparison, not a claim that either configuration can be substituted without approval. Send drawings through the BalusterPost contact page and request written confirmation of the proposed fittings and interfaces.
Frequently asked questions
Are welded glass adapters stronger than removable clamps?
There is no universal ranking. Capacity depends on the actual post, weld, fitting, fastener, glass and supporting connection. Compare engineered assemblies and relevant evidence rather than connection labels.
Can a welded adapter post accept any glass thickness?
No. Compatibility is determined by the complete specified fitting and glass detail. Obtain a confirmed assembly drawing and do not rely on an unverified catalogue thickness range.
Can the installer move a welded block on site?
Do not assume this is permitted. Moving a welded block changes the fabricated assembly and can affect geometry, finish and performance. Refer discrepancies to the designer and supplier for an approved resolution.
Does a product photograph prove the glass connection is complete?
No. A photograph can identify a product family, but may omit glass-side fittings or show a fabrication stage. Use the approved bill of materials and assembly detail to define supply scope.