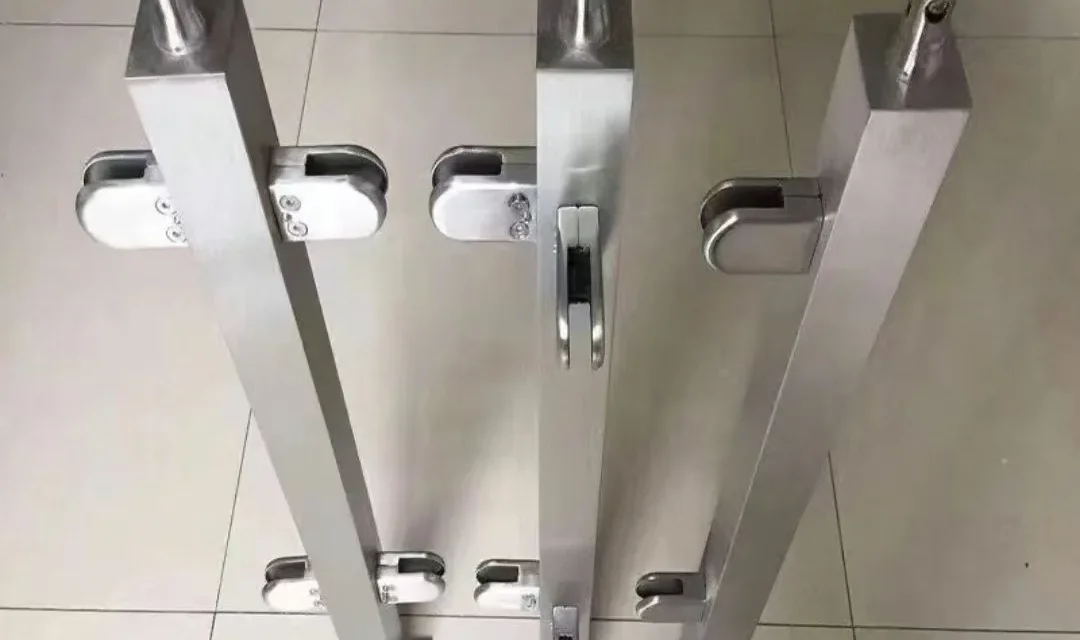
Short answer: select glass clamps for railing posts as part of a complete glass-support system, not by appearance alone. Confirm the glass build-up, clamp body and mounting surface, gasket set, fasteners, orientation, fixing centres, drainage, cleaning access and replacement sequence on an approved drawing. The responsible designer must verify the glass, post, clamp and substrate together for the project loads and local requirements.
This guide is for buyers and specifiers comparing stainless steel glass clamps used on baluster posts. It focuses on coordination and purchasing information. It does not provide universal glass-thickness ranges, torque values, edge distances or load capacities because those depend on the specific clamp, glass construction, fixing method, manufacturer instructions and project design.
Why a glass clamp is more than a small fitting
A clamp transfers force between a glass panel and its supporting post or structure. Its body, fasteners and gaskets must fit the intended glass and mounting surface without creating harmful metal-to-glass contact. Clamp locations also affect panel alignment, installation access and the ability to replace glass later.
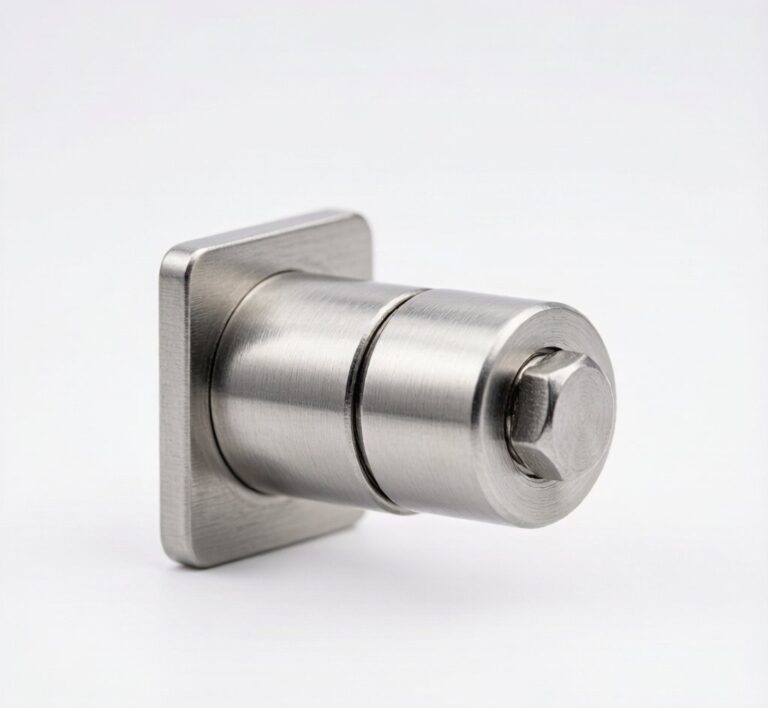
Catalogue photographs can hide important differences. Two clamps with a similar outline may have different back profiles, hole patterns, gasket arrangements, closing screws or intended mounting faces. A reliable RFQ identifies the product or approved equivalent and includes a coordinated drawing.
Glass clamp selection checklist
| Selection item | Question to answer | Evidence to request |
|---|---|---|
| Glass build-up | What glass type and nominal build-up is specified? | Approved glass schedule and clamp compatibility confirmation |
| Clamp body | Is the clamp intended for the required orientation and support role? | Product drawing and part number |
| Mounting face | Does the back profile match a flat, round or custom post surface? | Section detail showing full seating |
| Gaskets | Is the complete gasket set correct for the glass and clamp? | Exploded view or packing list |
| Fasteners | Which fasteners secure the clamp to the post and close the body? | Controlled bill of materials and instructions |
| Position | Where are the clamp centres and which side faces the glass? | Approved elevation and post drawing |
| Drainage | Can water and cleaning solution escape from ledges and recesses? | Installation section and maintenance review |
| Service access | Can screws, covers and gaskets be reached after installation? | Assembly and replacement sequence |
| Finish | Must the clamp match the post, handrail or another sample? | Approved physical finish sample |
| Inspection | Which fit, alignment and visual checks are required? | First-article checklist |
1. Start with the glass schedule
Before choosing a clamp, obtain the approved glass type, nominal thickness or laminate build-up, panel dimensions and edge treatment. Identify whether the glass is drilled, notched or held without holes. Do not assume that a gasket for one glass build-up can simply be compressed further to fit another.
If holes or notches are required, coordinate them before the safety-glass process. Pilkington’s toughened glass guidance states that cutting, drilling and edgeworking must be completed before toughening. This makes approved clamp centres and glass drawings an early decision, not a site adjustment.
2. Match the clamp back to the post surface
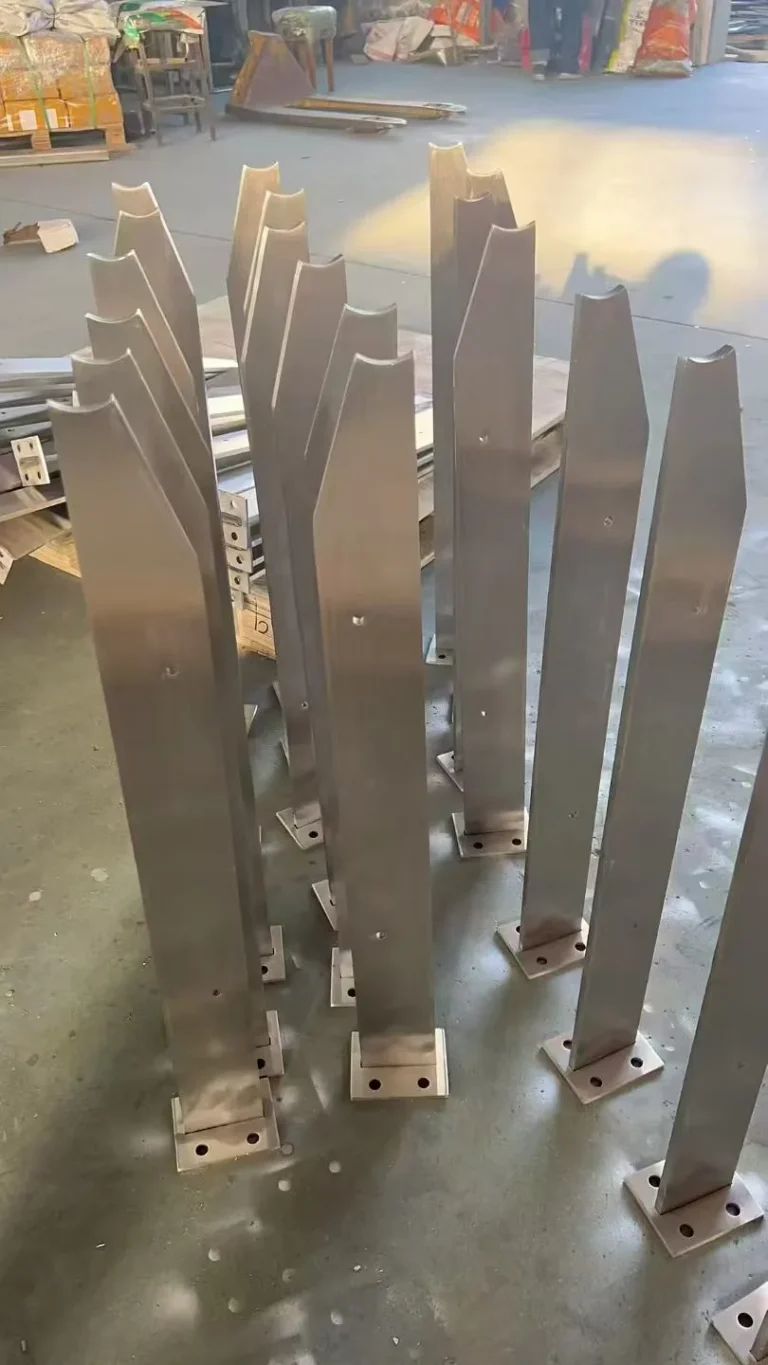
A clamp must seat correctly on its supporting surface. A flat-backed clamp may suit a square post or plate, while a curved back may be intended for a round tube of a defined diameter. An adapter or shaped interface may be needed for other profiles. Partial contact or an improvised packing piece can change alignment and fastener behaviour.
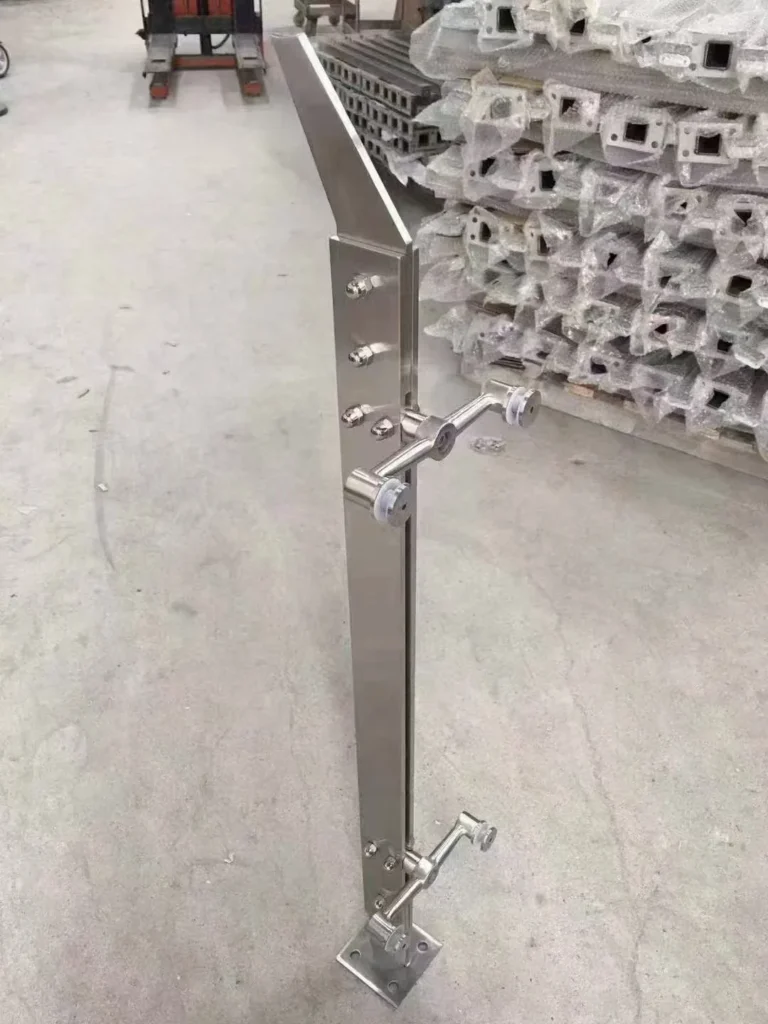
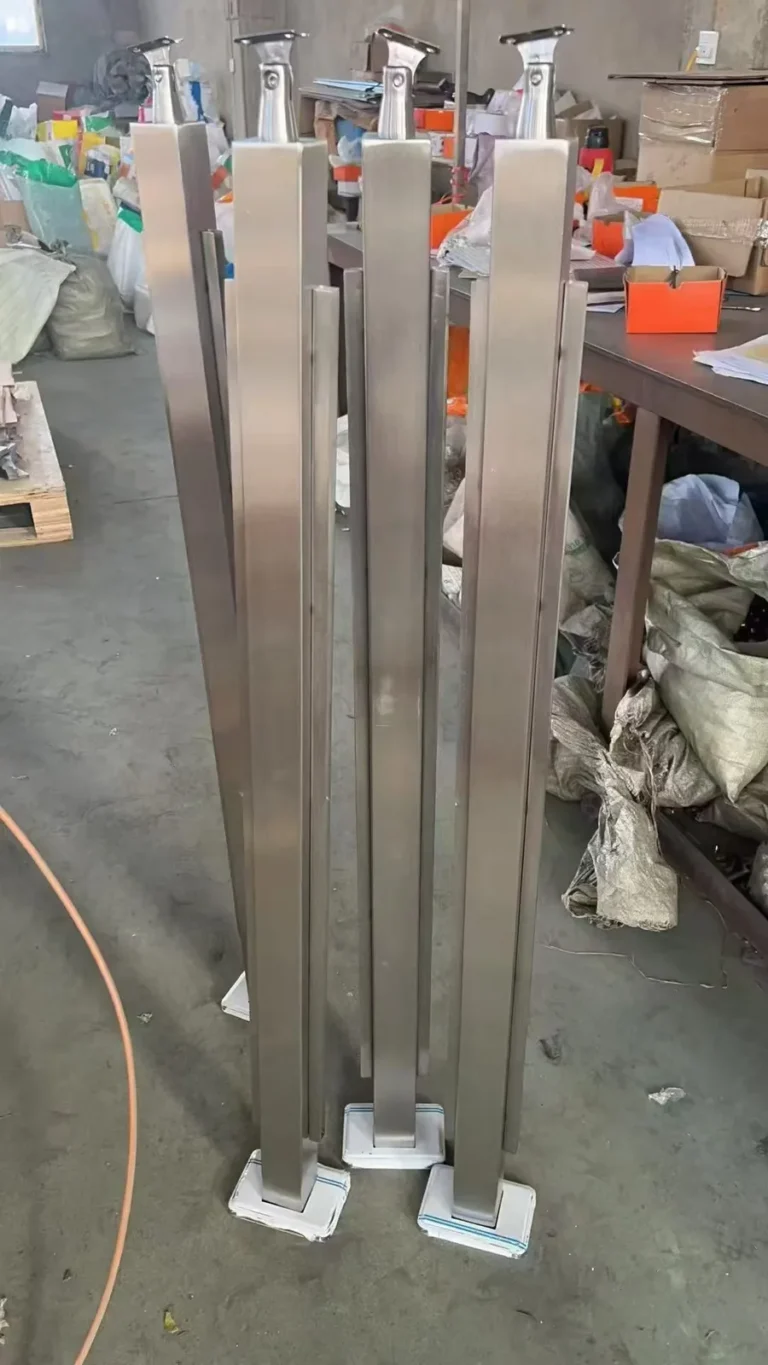
Show the post section and clamp back in the drawing. Confirm the fixing-hole pattern, thread or through-bolt arrangement, and access inside the post where required. The BP-SQ01 square-tube glass post illustrates post assemblies with custom clamp positions and a top support; final dimensions and fixing points are confirmed to the approved project drawing.
3. Treat gaskets as controlled components
Gaskets separate glass from metal, accommodate the intended interface and help distribute contact within the clamp design. They are not generic packing material. Record the gasket quantity, position, material or supplier reference required by the clamp system, and keep matched sets with the relevant hardware during packing.
Do not install a clamp with a missing, folded, damaged or substituted gasket. Do not add site-made shims unless the responsible clamp supplier and project designer approve the detail. The assembly sequence should show how gaskets remain correctly located while the clamp closes.
4. Confirm whether the glass needs processing
Some clamp arrangements hold the panel without glass holes; other fittings, including point-fixed adapters or routels, require coordinated holes. The choice affects glass manufacture, visual appearance, adjustment and replacement. If a hole or notch is part of the design, define its diameter or geometry, centre, tolerance and edge relationship on the approved glass drawing.
The Glass Adapter / Routel product page shows a different connection family used in railing and stainless steel assemblies. It should not be substituted for a clamp without reviewing the glass processing and structural design.
5. Fix clamp centres from a common datum
Clamp positions should be dimensioned from an agreed post and glass datum. Avoid chained dimensions that allow small errors to accumulate between base, lower clamp, upper clamp and handrail. For stairs, show the rake angle and orientation instead of asking the fabricator to infer them from an architectural perspective.
Distinguish middle, end, corner and stair posts. The same clamp may face opposite directions or require handed access. A position schedule tied to the post drawings prevents visually similar parts from being mixed during finishing, packing and installation.
6. Coordinate fasteners and tightening instructions
The RFQ should identify both the fastener that attaches the clamp to the post and the fastener that closes the clamp body. Specify only values and locking methods provided or approved for that exact system. A generic torque copied from another clamp can be unsafe because screw size, material, lubrication, thread engagement, gasket and clamp geometry all affect the result.
Installation instructions should define tool access, tightening sequence and any required recheck. Fasteners should remain identifiable in the packing list; mixing visually similar screws can create incorrect thread engagement or surface damage.
7. Design for water, dirt and cleaning access
Exterior clamps and posts are exposed to rain, airborne deposits and cleaning solution. Review upward-facing ledges, recesses and contact zones where water or dirt can remain. The goal is not to add unapproved drain holes to a fitting, but to select and orient the system so routine cleaning and drainage are practical.
worldstainless notes that architectural stainless steel still needs routine cleaning to preserve appearance and corrosion performance. Its cleaning and maintenance resources support starting with appropriate care rather than assuming stainless hardware is maintenance free. The project maintenance plan should also account for glass-safe cleaning products and gasket compatibility.
8. Leave room for installation and future replacement
A clamp that fits on a drawing may be difficult to assemble beside a wall, corner return, close handrail or finished floor. Check screwdriver or hex-key access, cover removal and the path used to insert the glass. Consider whether one damaged panel can be removed without dismantling an entire railing run.
Replacement planning should identify which side of the clamp opens, how the panel is supported during removal and whether spare gaskets or covers are needed. These details are especially important where access equipment, tenant areas or pool closures make later work disruptive.
9. Coordinate material and finish
State the stainless grade and finish for the clamp, post and exposed fasteners. Selection depends on the environment, cleaning regime and project specification; a polished appearance alone does not define alloy or corrosion suitability. For background, see the 304 vs 316L stainless steel post guide.
Directional finishes need agreed grain direction. Decorative colour requires a physical sample and defined visible faces. If clamps and posts are produced by different routes, approve the assembled first article rather than separate samples viewed under different lighting.
10. Inspect a first article before the full batch
A useful first article includes the real post surface, clamp, gasket, fasteners and representative glass or a controlled gauge approved for the check. Inspect seating, orientation, centre positions, gasket placement, fastener access, finish match and absence of unintended metal-to-glass contact.
Record the post type, clamp part, drawing revision and result. Photographs add context but should be linked to the item identity. If the glass build-up, post profile, clamp or fixing changes, determine whether the first-article approval remains applicable.
Clamp-type product options on BalusterPost
BalusterPost currently lists the B04AF, B10AF and B10AP clamp-type glass clamp pages. These catalogue entries establish available product families, but the required glass range, mounting interface and project suitability must be confirmed from the current product drawing and application requirements. This guide intentionally does not repeat conflicting or unverified thickness data.
Information to send with a glass clamp RFQ
- Project location, environment and applicable design responsibility
- Glass schedule, panel sizes and required holes or notches
- Post profile, grade, wall or section thickness and finish
- Clamp product or performance brief and required quantity
- Mounting-face detail, fixing method and access inside the post
- Clamp centres, orientation and post type schedule
- Approved gasket, fastener and cover set
- Finish sample and visible-face requirements
- First-article, inspection, packing and spare-part requirements
- Installation and glass-replacement access constraints
Send the glass schedule, post drawings and clamp requirements through the BalusterPost contact page for a configuration review. Final system design and approval remain with the responsible project team.
Frequently asked questions
Can one glass clamp fit every glass thickness?
No. Compatibility depends on the specific clamp and gasket set. Use the current product drawing and manufacturer confirmation for the approved glass build-up.
Can glass clamp holes be drilled after toughening?
No. Required cutting, drilling and edgeworking must be completed before toughening, so clamp centres and glass processing need approval early.
Should glass ever touch the stainless clamp body?
The assembly should follow the clamp manufacturer’s gasket and installation design. Do not omit or improvise separation components; investigate any unintended metal-to-glass contact.
What is the most important drawing for procurement?
A coordinated post-and-glass detail showing the clamp product, mounting face, fixing centres, orientation, glass build-up and gasket set is more useful than an isolated product photograph.