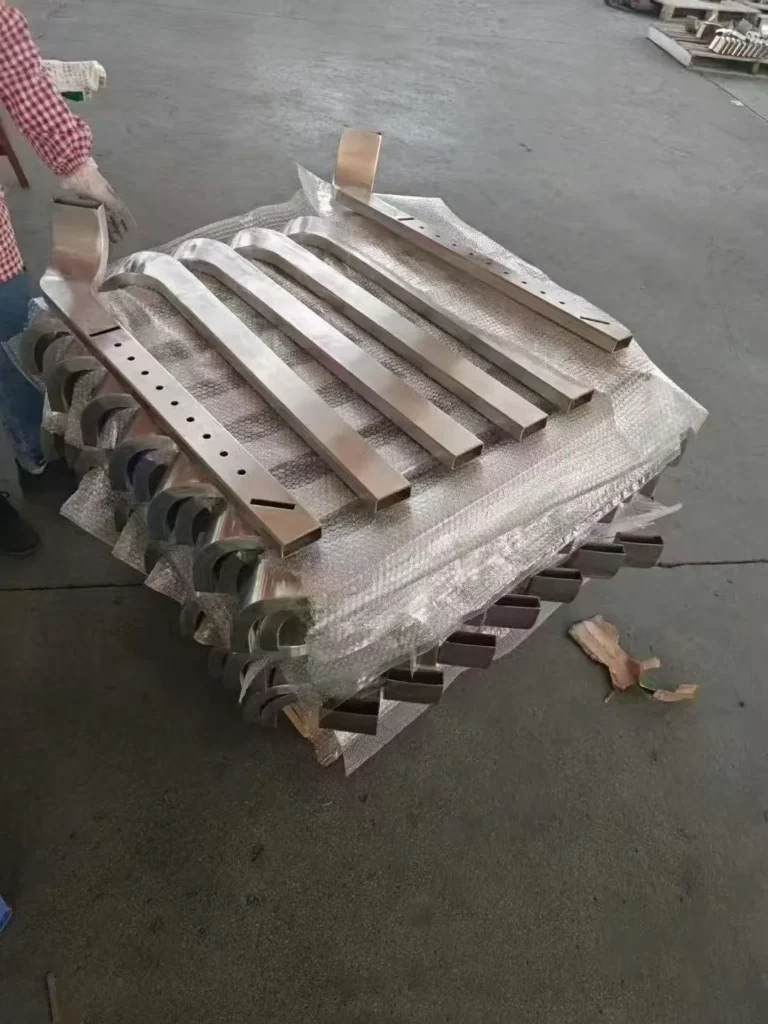
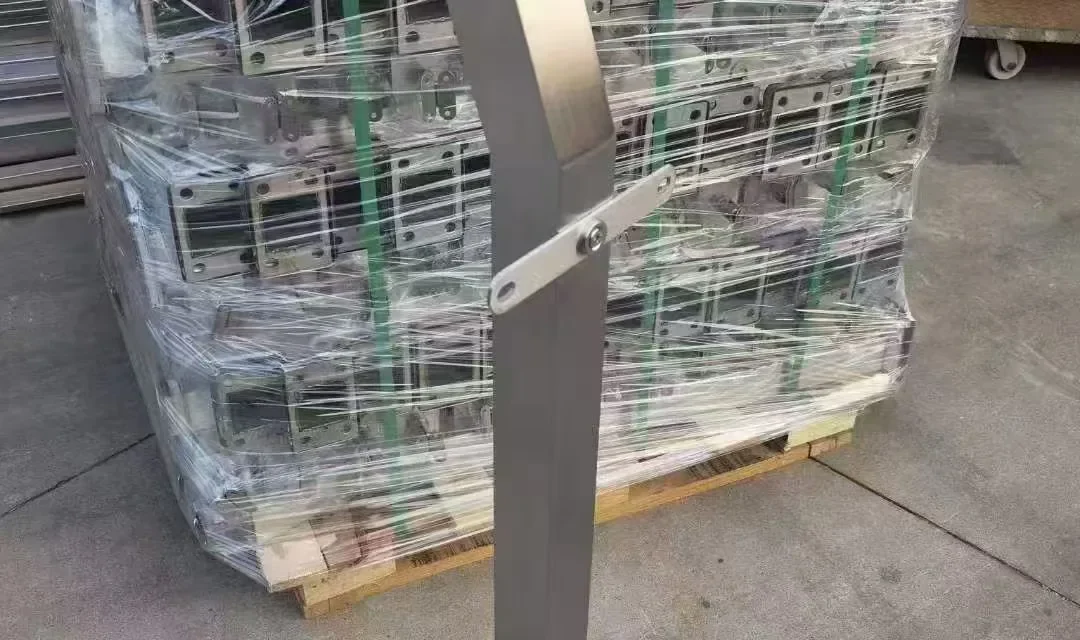
Short answer: stainless steel railing post weld finishing should restore the specified appearance without hiding fabrication defects or damaging the surrounding surface. A reliable process separates weld-quality acceptance from cosmetic blending, defines how heat tint and contamination are removed, matches the approved finish sample, checks critical dimensions after finishing, and protects the completed post through packing and installation.
This guide is for buyers, inspectors and fabricators reviewing welded stainless steel baluster posts and glass railing posts. It does not provide a welding procedure, structural acceptance criteria or chemical-treatment recipe. Those must be selected by qualified personnel for the grade, joint, service environment and applicable project specification.
Weld acceptance and finish acceptance are different
A weld can look smooth while still failing a defined fabrication requirement, and a technically acceptable weld can still be visually unsuitable for an architectural post. Inspect the joint against the approved welding and fabrication requirements before grinding or blending changes what can be seen. Then inspect the restored surface against the finish requirement.
The quality plan should identify who accepts the weld, which examination is required, which faces are architecturally visible and what finish transition is allowed. Do not use polishing as a substitute for checking joint location, size, continuity, distortion or other specified characteristics.
Post-weld inspection checklist
| Checkpoint | What to verify | Reference |
|---|---|---|
| Part identity | Correct post type, hand, position and drawing revision | Post schedule and traveller |
| Joint location | Adapter, saddle or base is in the approved position and orientation | Manufacturing drawing |
| Weld condition | Specified visual and dimensional acceptance is complete before blending | Project fabrication requirement |
| Spatter and residue | No unwanted residue remains on visible or functional surfaces | Cleaning procedure |
| Heat tint | Treatment matches the service and specified post-weld condition | Approved finishing procedure |
| Blend geometry | Grinding has not undercut the joint, thin an edge or change a datum | Drawing and inspection plan |
| Finish match | Grain, gloss and texture match the approved sample on visible faces | Physical sample |
| Contamination | No embedded carbon-steel particles or dirty-tool marks are evident | Fabrication and cleaning controls |
| Dimensions | Critical centres, angles, flatness and interfaces remain within requirement | Final dimensional report |
| Protection | Clean finished faces and projecting fittings are separated for transport | Packing specification |
Start before welding: approve the required surface
Finishing is easier to control when the drawing identifies visible faces, grain direction, finish family and an approved physical sample. “Brushed” or “satin” alone may not define appearance consistently across tube, plate, cast fittings and machined parts. Record where a weld must disappear visually and where a controlled transition is acceptable.
The railing post surface finishes guide explains how to specify samples, grain direction and inspection conditions. Include the weld area in the first-article sample because flat material finished before fabrication may not represent the final transition around an adapter or base.
Understand heat tint without using colour as a thermometer
Heat tint is the coloured oxide visible beside many stainless steel welds. The British Stainless Steel Association explains that its appearance depends on steel composition, atmosphere, time and original surface finish. Colour alone should therefore not be used to calculate a precise welding temperature.
BSSA’s post-weld cleaning guidance also explains why removing heat tint is important where corrosion performance in low-temperature aqueous environments matters. The required treatment should be defined for the actual service and joint, not decided by whether a photograph looks bright enough.
Select the cleaning route for the actual part
Post-weld treatment may involve mechanical cleaning, chemical pickling, electrochemical cleaning, passivation or a controlled combination. Each route changes the surface in a different way and has limits related to geometry, finish, safety, rinsing and waste. The purchaser should specify the required outcome and applicable standard or procedure rather than naming a process casually.
The official ASTM steel standards index currently lists ASTM A380/A380M-25 for cleaning, descaling, pickling and passivation of stainless steel parts, equipment and systems. If it is invoked, state the edition, selected practices, acceptance tests and purchaser/supplier responsibilities; the designation alone does not choose a complete process for an architectural post.
Chemical pickling and passivation involve hazardous materials and controlled disposal. They should be performed by qualified personnel with appropriate facilities and safety procedures. This article intentionally does not provide acid concentrations, temperatures or application instructions.
Keep carbon-steel contamination away from stainless surfaces
Tools, benches, abrasives and handling equipment used on carbon steel can transfer iron particles to stainless steel. Segregate work areas where practical and use clean, dedicated abrasives and brushes suitable for stainless fabrication. Remove grinding dust from recesses, threads and protective film before it becomes trapped.
Visual inspection can find obvious rust, particles and staining but may not reveal thin contamination. If the project requires a test for surface cleanliness or free iron, define the method, sampling and acceptance criteria in the inspection plan. Do not apply an unfamiliar chemical spot test to a finished architectural face without assessing its effect.
Blend the weld without changing the post geometry
Grinding can remove excess weld metal and prepare the transition, but excessive grinding can thin the joint, round a square edge, dish a flat face or move a functional datum. Protect nearby clamp holes, threaded features and machined interfaces. Use a progressive, controlled sequence suitable for the required finish instead of trying to erase deep marks in one aggressive step.
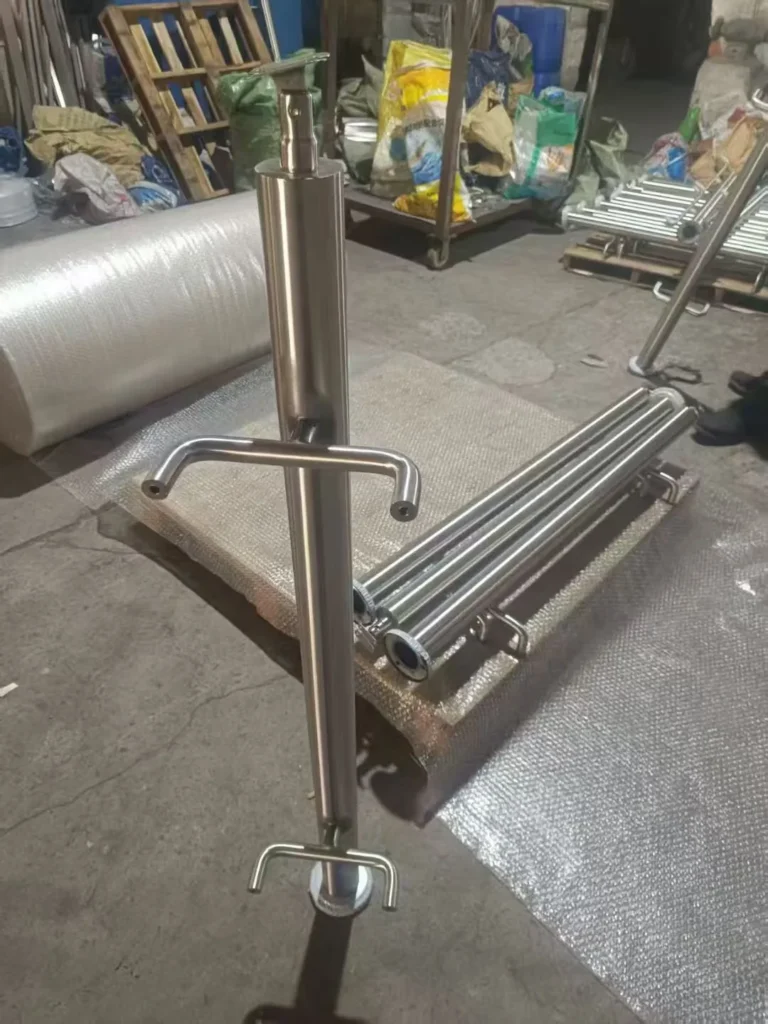
For a post with welded glass adapters, the adapter centre and projection remain functional after finishing. The BP-SG01 product page identifies a square post with welded adapter blocks whose dimensions and glass specification are confirmed to the approved drawing. The related welded glass adapter selection guide explains why connection centres and replacement access must be coordinated before fabrication.
Restore directional finishes deliberately
A directional grain should continue across the post in the orientation shown on the sample. Local circular scratches around a welded fitting can remain visible even when the surface feels smooth. Control abrasive direction, step boundaries and the distance over which the finish is blended. Compare the result under grazing as well as diffuse light.
Do not mix a highly reflective patch into a satin face or a coarse local grain into a fine surrounding finish. If a complete face must be refinished to achieve consistency, make that route part of the quotation and first-article approval rather than an improvised repair.
Inspect edges, crevices and drainage paths
Look closely at the transition between tube and base plate, under saddles, around welded adapters and inside open ends before caps are fitted. Confirm that finishing has not created sharp burrs, trapped abrasive, blocked drainage or an unintended crevice. The inspection should include surfaces hidden after final assembly when they influence cleaning, fit or service.
For exterior posts, review how water leaves the assembly and whether cleaners can be rinsed away. Do not add drain holes or alter welds without drawing approval. Record any design concern for the responsible engineer or designer instead of treating it as a finishing correction.
Recheck dimensions after finishing
Welding can distort a post and finishing can change edges or contact faces. Final inspection should therefore repeat critical measurements after the complete finishing route. Typical checks include post straightness, base orientation, hole pattern, adapter centres and projection, saddle angle, handed features and the fit of covers or clamps.
Use the drawing’s datum scheme and record actual results where required. A visual pass does not replace dimensional verification. The railing compliance documents guide explains how an inspection report should link to the item, batch and approved drawing revision.
Use controlled lighting and viewing conditions
Architectural finish judgements change with lighting, distance and viewing angle. Agree on a practical inspection area, clean the surface and compare it with the approved physical sample. Inspect critical faces under consistent lighting and then rotate the post to reveal directional scratches, waviness or local over-polishing.
Define which marks are evaluated before protective film and which conditions are checked after film removal. Photographs are useful records but cannot reproduce gloss and grain reliably; retain the physical sample for disputed visual decisions.
Approve a first article before batch finishing
The first article should contain the most demanding representative features: the actual post profile, base or adapter weld, required grain, visible edges and final protection. Link it to the drawing revision, finishing procedure and sample. Record any approved limits or corrections before the batch follows the same route.
If the grade, tube source, weld geometry, abrasive sequence, subcontract finishing route or decorative coating changes, review whether the first article is still representative. The OEM railing post RFQ checklist helps buyers place samples, inspections and evidence into the purchase scope before production.
Protect the finished post through delivery
Clean and dry the post before wrapping. Separate finished faces, immobilize projecting adapters and avoid placing aggressive labels on the primary visible surface. Packaging should prevent parts from rubbing while allowing type and position codes to remain readable.
Define who removes protective film and when. Temporary films have service limits and can become difficult to remove if left in weather or heat longer than intended. Include handling and cleaning instructions with the shipment rather than relying on installers to infer them.
Minimum release record
- Post type, position code and approved drawing revision
- Material and required traceability reference
- Welding/fabrication acceptance status
- Post-weld cleaning and finishing procedure reference
- Approved finish sample identifier
- Critical final dimensional results
- Visual inspection status and identified deviations
- Packing method, label and quantity confirmation
Send the post schedule, drawings, finish sample requirement and inspection plan through the BalusterPost contact page for a production-scope review. Structural weld acceptance, chemical processing and project approval should remain with qualified responsible parties.
Frequently asked questions
Can grinding make an unacceptable weld acceptable?
No. Welding and fabrication acceptance should be completed against the project requirements before cosmetic blending obscures relevant surface evidence.
Does every stainless steel weld need chemical passivation?
Not as a universal rule. The required cleaning, descaling, pickling or passivation route depends on the grade, contamination, heat tint, finish, service and specified standard. Define it with qualified technical input.
Why is the finish checked after dimensions?
Both are needed at final release. Welding and finishing can affect straightness, edges and fitting datums, so critical dimensions should be rechecked after the complete finishing route.
What is the best visual reference?
An approved physical first article or finish sample viewed under agreed conditions is more reliable than a screen image or the word “satin” alone.